
How to Tile a Wall
Start with a flat, suitable surface and work out the tile layout before mixing adhesive. Check where full tiles and cuts will finish, establish level reference lines and plan around corners, sockets and openings before fixing.
Whether you're tiling for the first time or looking to improve your technique, these practical guides cover the parts of the job that matter: preparation, wall and floor tiling, cutting, grout, patterns and layout. The advice comes from more than 20 years of hands-on tiling experience.
Start with these practical video tutorials, then explore more guides on The Bespoke Bloke YouTube channel.
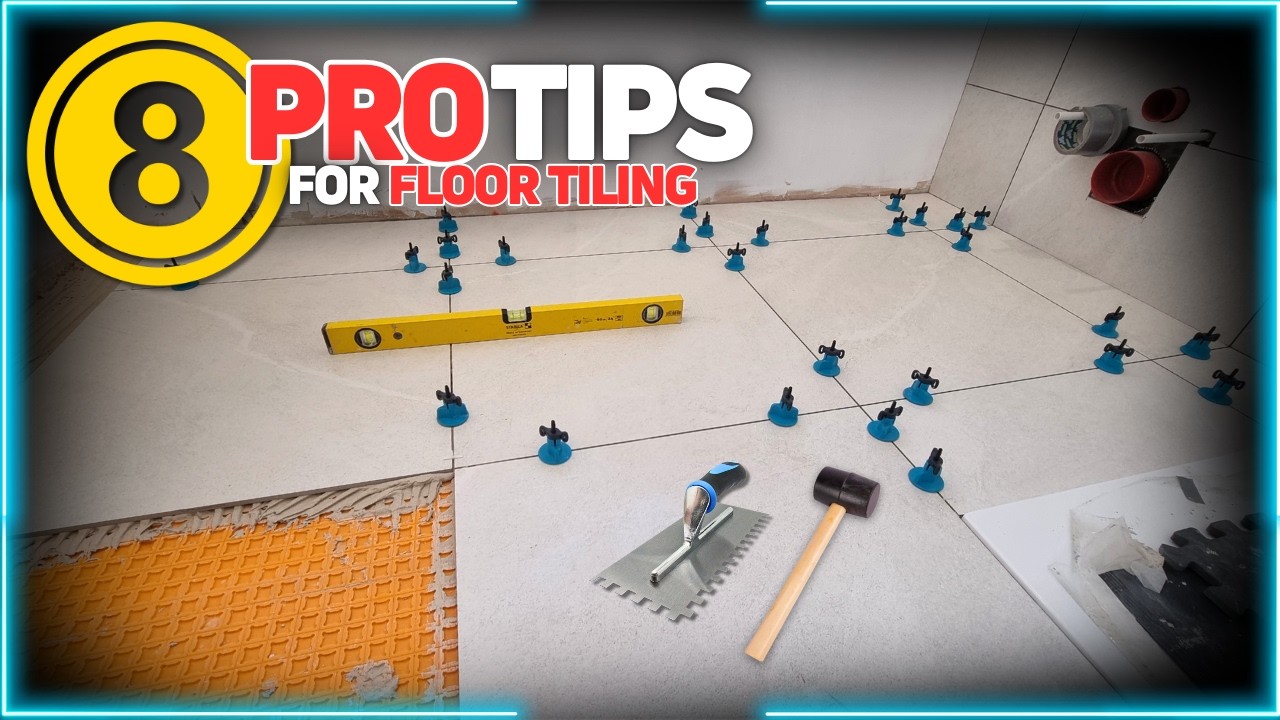
Learn the important checks and preparation steps to think about before tiling a floor, helping you avoid common beginner mistakes before the tiles are fixed.
Watch on YouTube →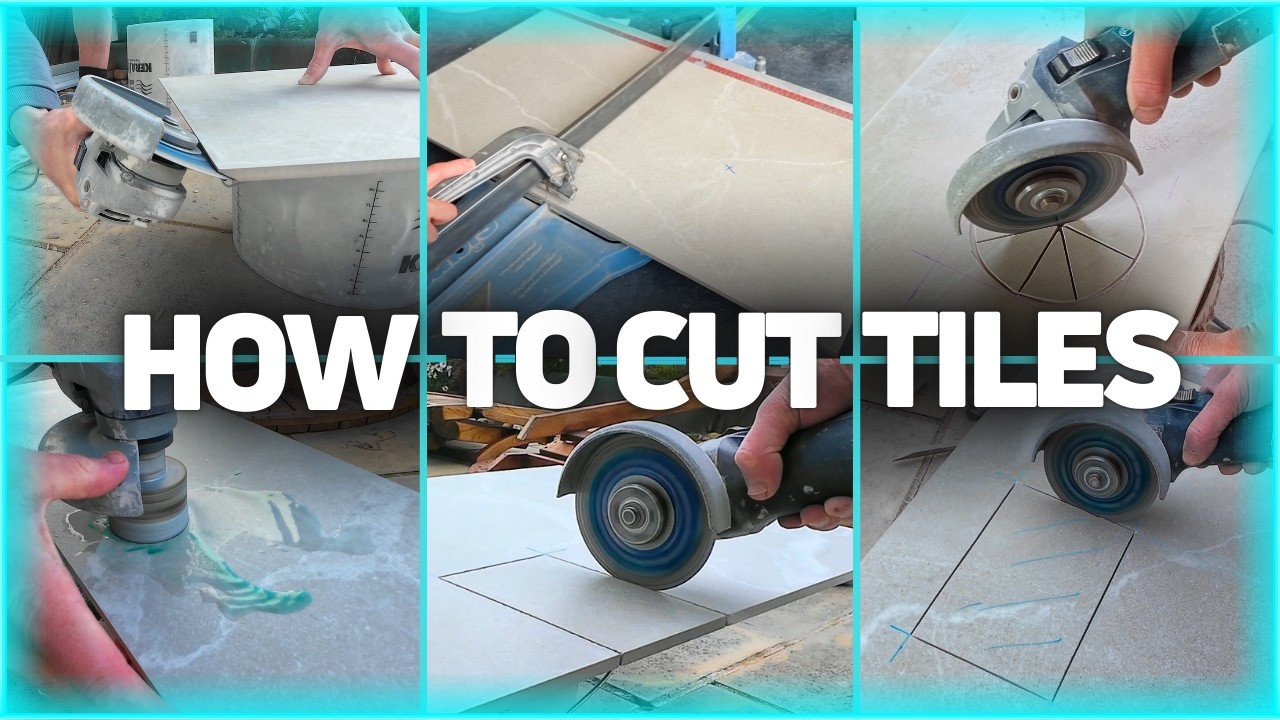
A practical guide to cutting tiles cleanly and confidently, including the techniques that help when working around edges, fittings and awkward areas.
Watch on YouTube →
See how epoxy grout compares with traditional cement grout, where each option makes sense and what to consider before grouting your finished tile installation.
Watch on YouTube →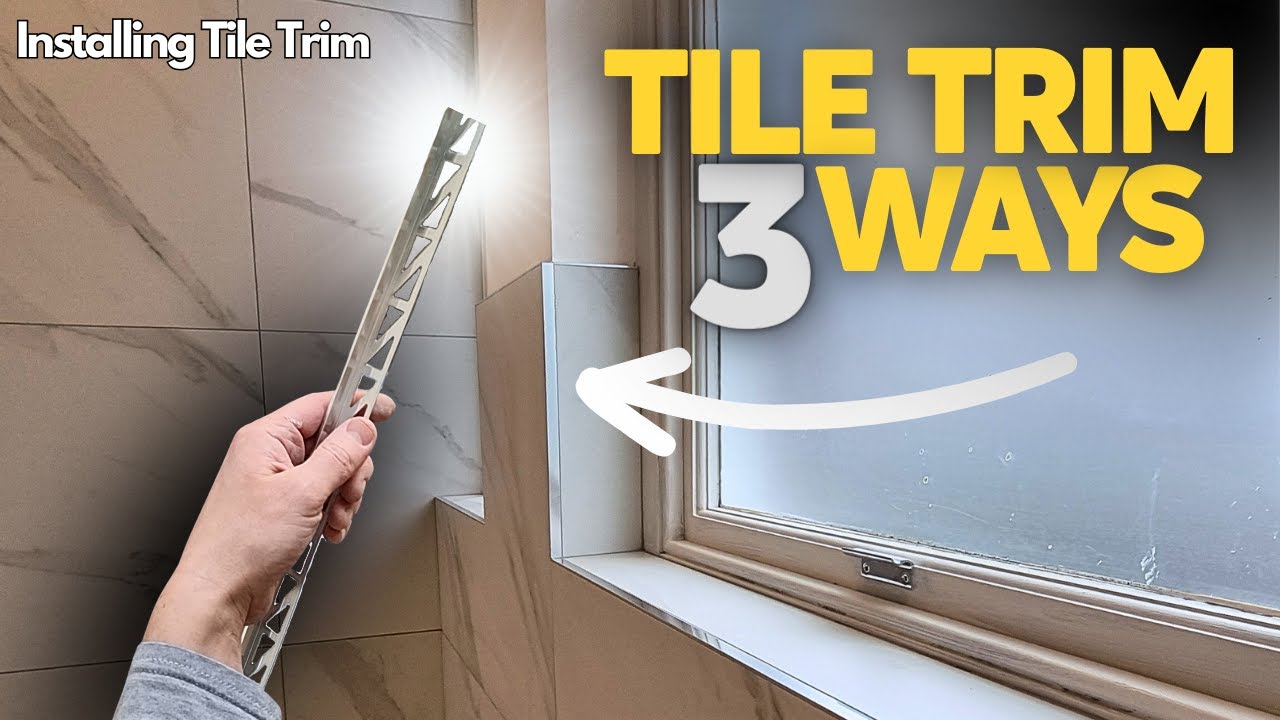
See how to install tile trim to create a cleaner, more considered finish around exposed tile edges and detailed areas.
Watch on YouTube →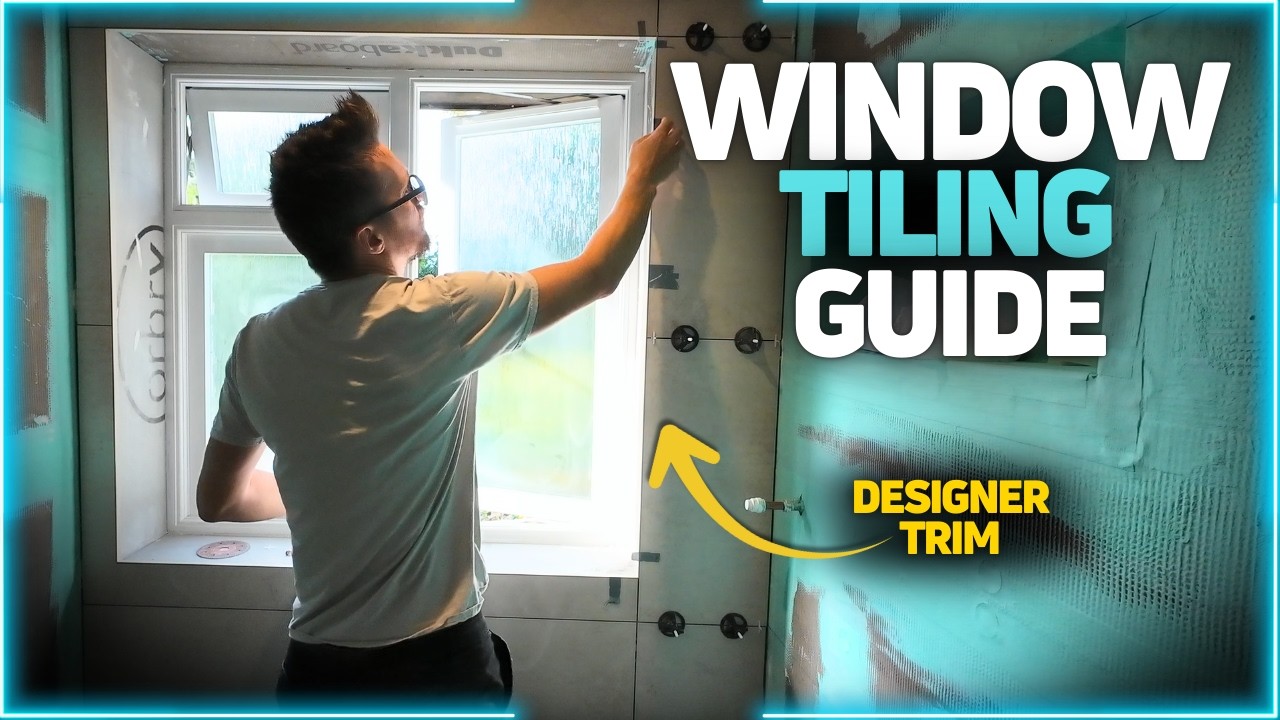
A practical guide to tiling neatly around a window and using reversed tile trim to create a sharp, finished edge.
Watch on YouTube →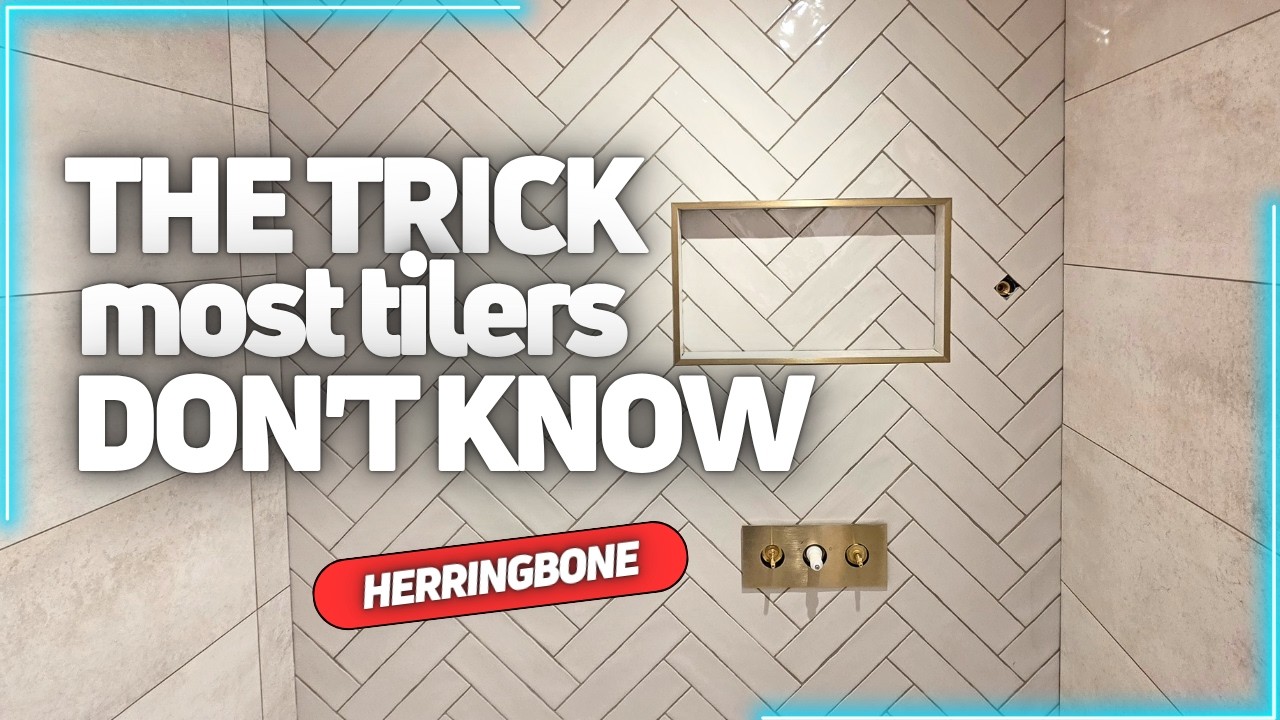
Learn the easy way behind setting out and installing a herringbone tile pattern so the layout stays symetrical and the finished pattern reads cleanly.
Watch on YouTube →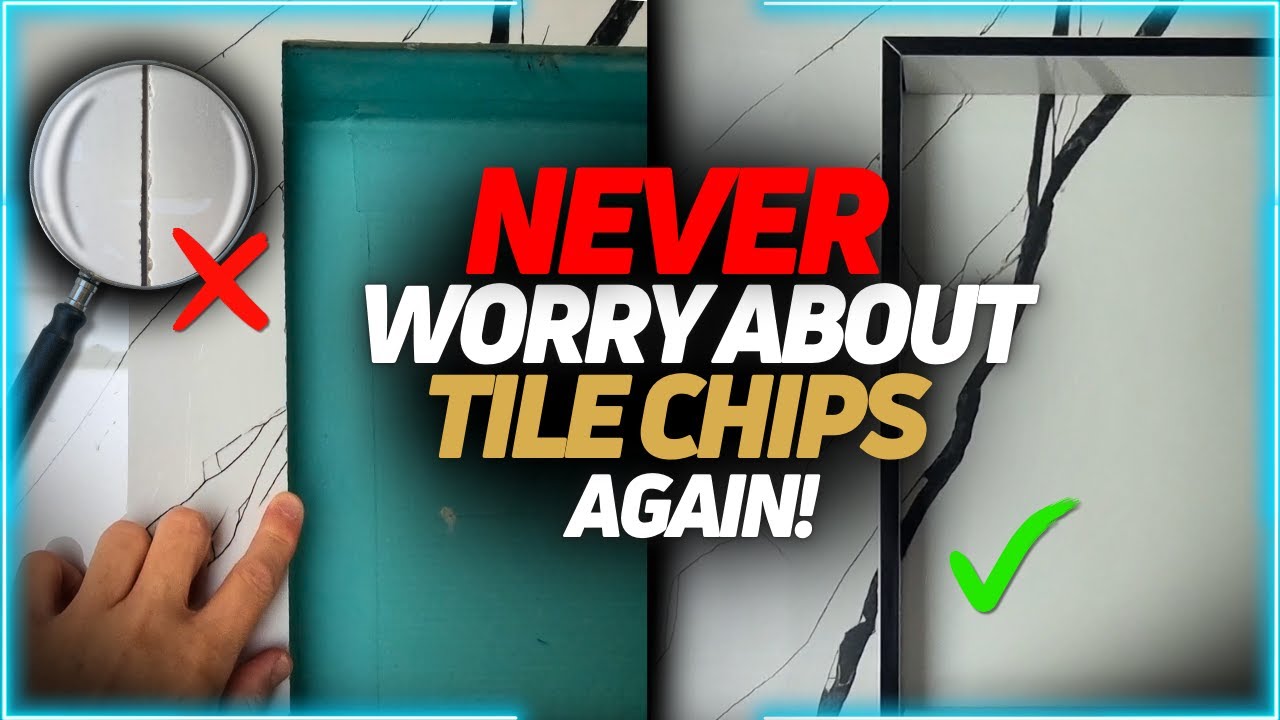
Pick up practical tips for producing cleaner tile cuts and reducing visible chipping when accuracy and finish matter.
Watch on YouTube →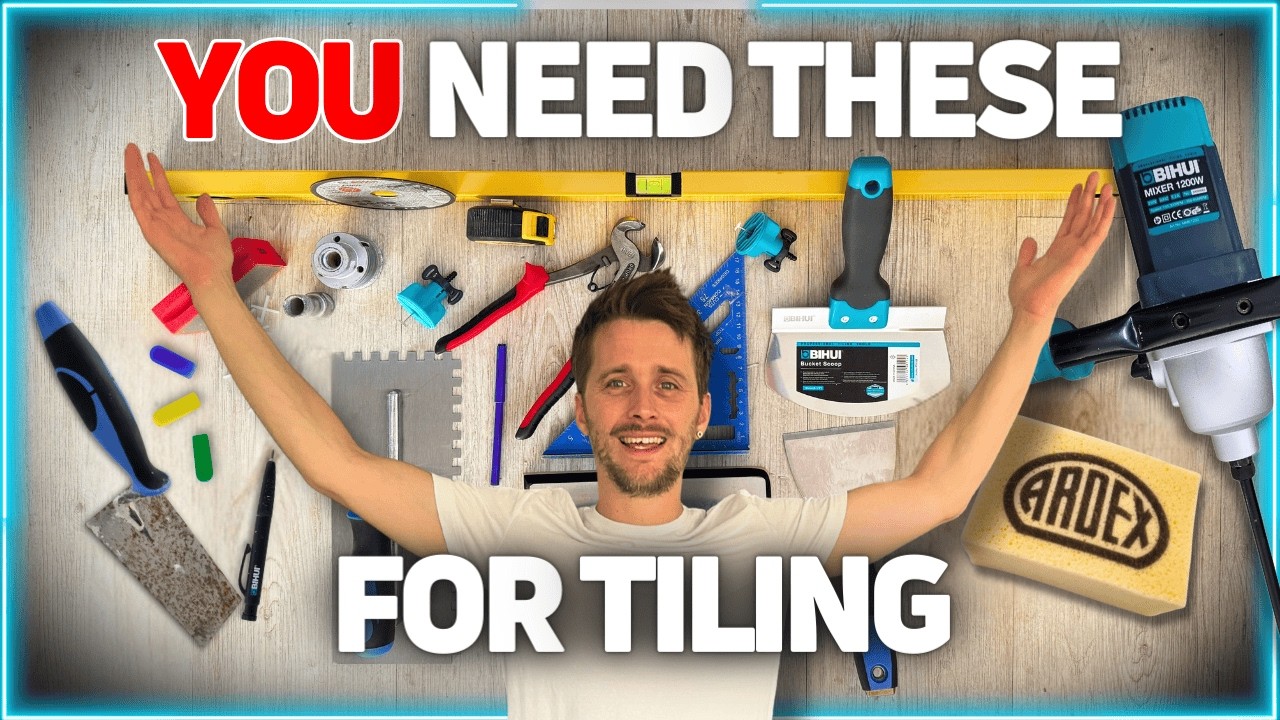
Get familiar with the tiling tools and equipment you need before starting, so you can prepare properly and avoid being caught out halfway through the job.
Watch on YouTube →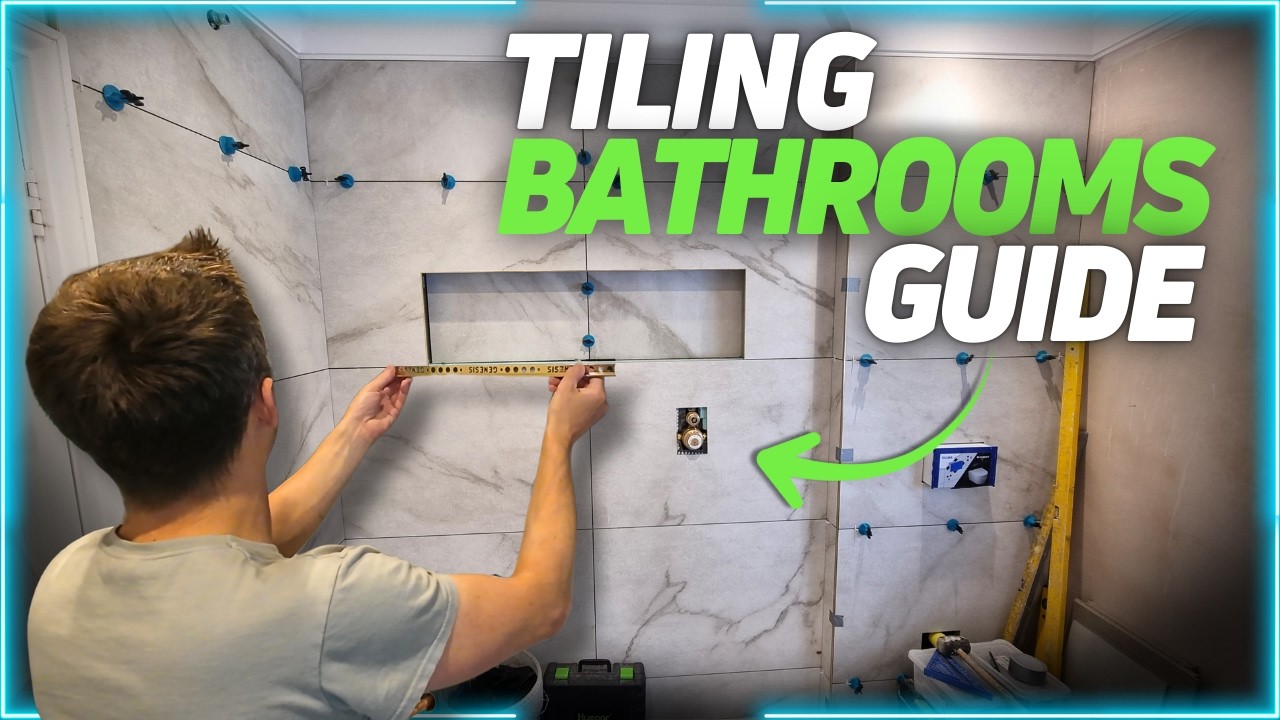
Follow a complete bathroom tiling project from start to finish and see the workflow, preparation and installation decisions involved across the job.
Watch on YouTube →If you've never tiled before, the installation itself is only part of the job. Preparation, accurate set-out, sensible starting points and knowing where the cuts will finish can make a huge difference to the final result.
Start with a flat, suitable surface and work out the tile layout before mixing adhesive. Check where full tiles and cuts will finish, establish level reference lines and plan around corners, sockets and openings before fixing.
Check that the floor is sound, flat and correctly prepared, then dry-plan the layout so you can avoid poor edge cuts and awkward transitions. A good floor set-out should be decided before the first tile is laid.
Kitchen walls often involve worktops, sockets, cabinets and short splashback areas. Generally you'd want to centre your tiles in the feature areas like above the cooker or sink.
Measure the area, establish useful centre or reference lines, test the tile size and grout joints, and compare different starting positions. The aim is to find a balanced set-out and justify your decisions.
Small slivers at edges are often a layout problem rather than a cutting problem. Move the starting point, compare the opposite edge and check adjoining walls or features before deciding where the first tile should go.
Patterned layouts need even more planning because generally more joints and working with angles. It's generally best to centre your floor or main feature wall with these patterns.
Tile Layout Pro lets you draw the room to scale, test floor and wall layouts, generate patterns, see cuts and calculate tile quantities before adhesive goes on.
More practical tiling tutorials, tool advice, bathroom projects and trade tips are available on The Bespoke Bloke channel.